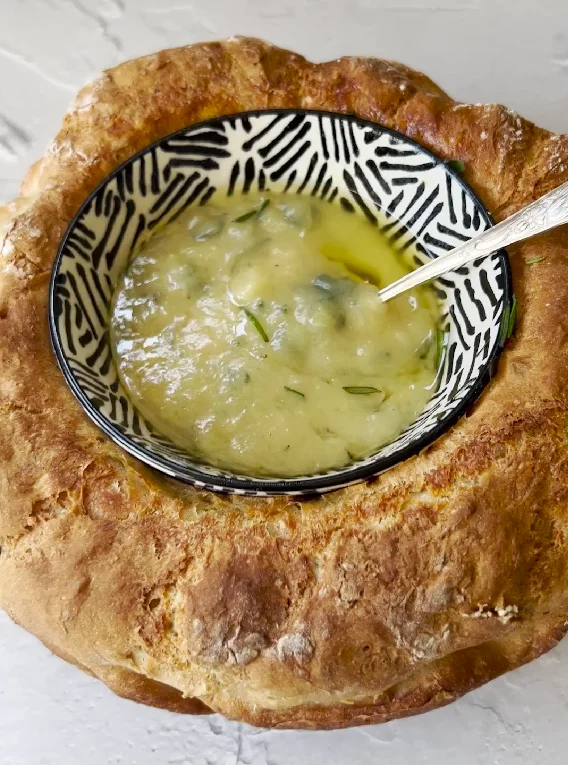
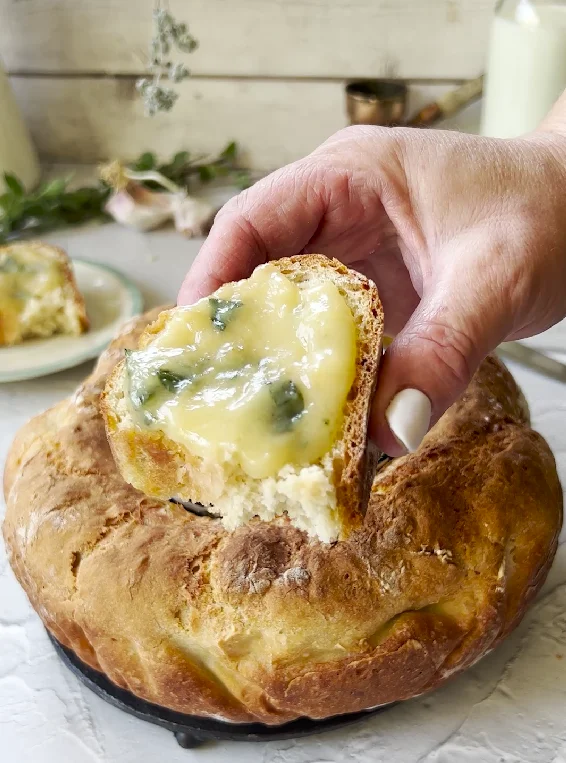
Quick No Knead Artisan Bread with Roasted Garlic Herb Butter
- Dutch oven/cast iron pot with lid
- Small fireproof bowl (ceramic)
INGREDIENTS
Bread:
- 1 ¾ cups/250 grams all-purpose flour
- 1 ¾ cups/250 grams bread flour
- 1 tablespoon dry yeast
- 1 tablespoon sugar
- ½ cup/100 milliliters warm water
- 1 ¼ cups/300 milliliters lukewarm water
- 1 teaspoon coarse salt
Garlic butter:
- 1 garlic head
- 7 tablespoons/100 grams unsalted butter, softened
- 2-3 sprigs fresh oregano, or 1 heaping tablespoon dried
- 2-3 sprigs fresh thyme, not recommended to substitute with dried thyme as it dominates the taste, can be substituted with dried rosemary
- 10 rosemary leaves
- ½ teaspoon coarse salt, or more to taste
INSTRUCTIONS
- In a small bowl, mix the yeast and sugar with warm water. Stir well and let it sit for 5 minutes.
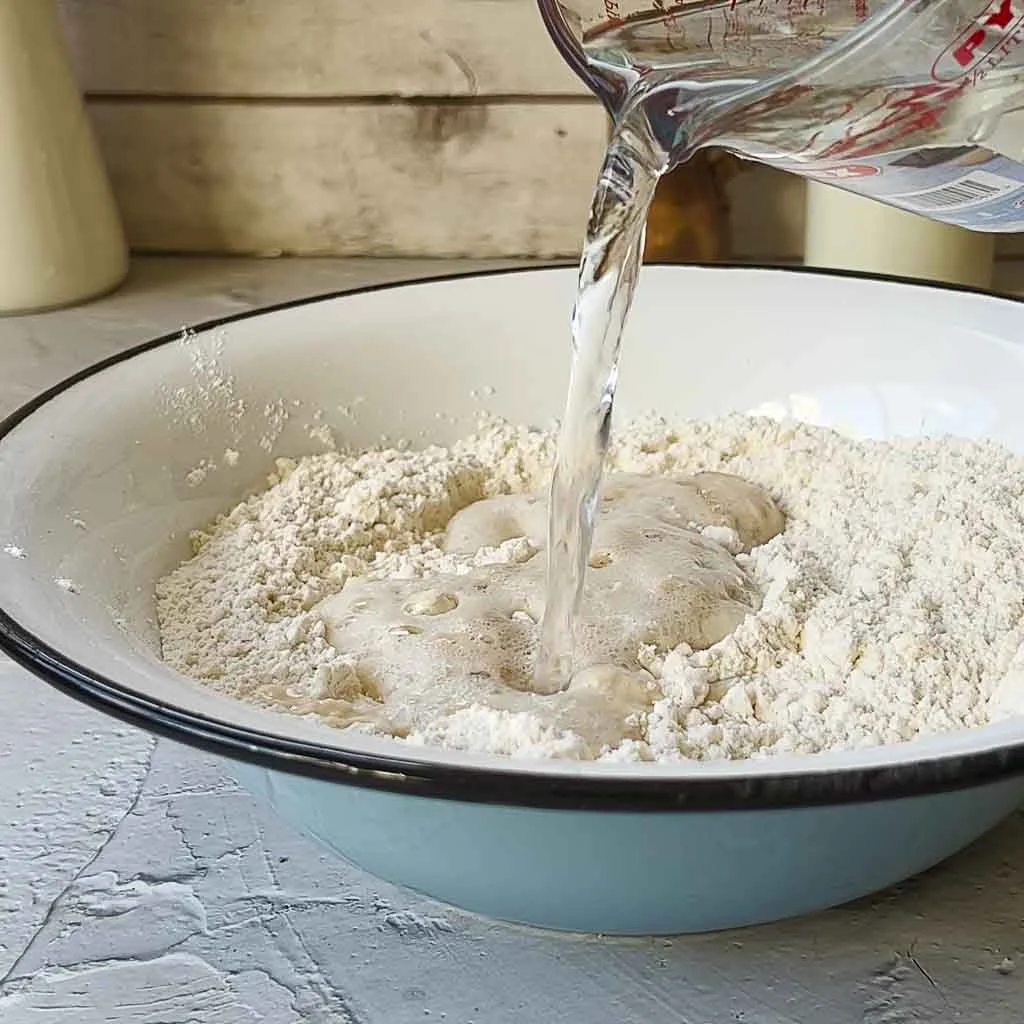
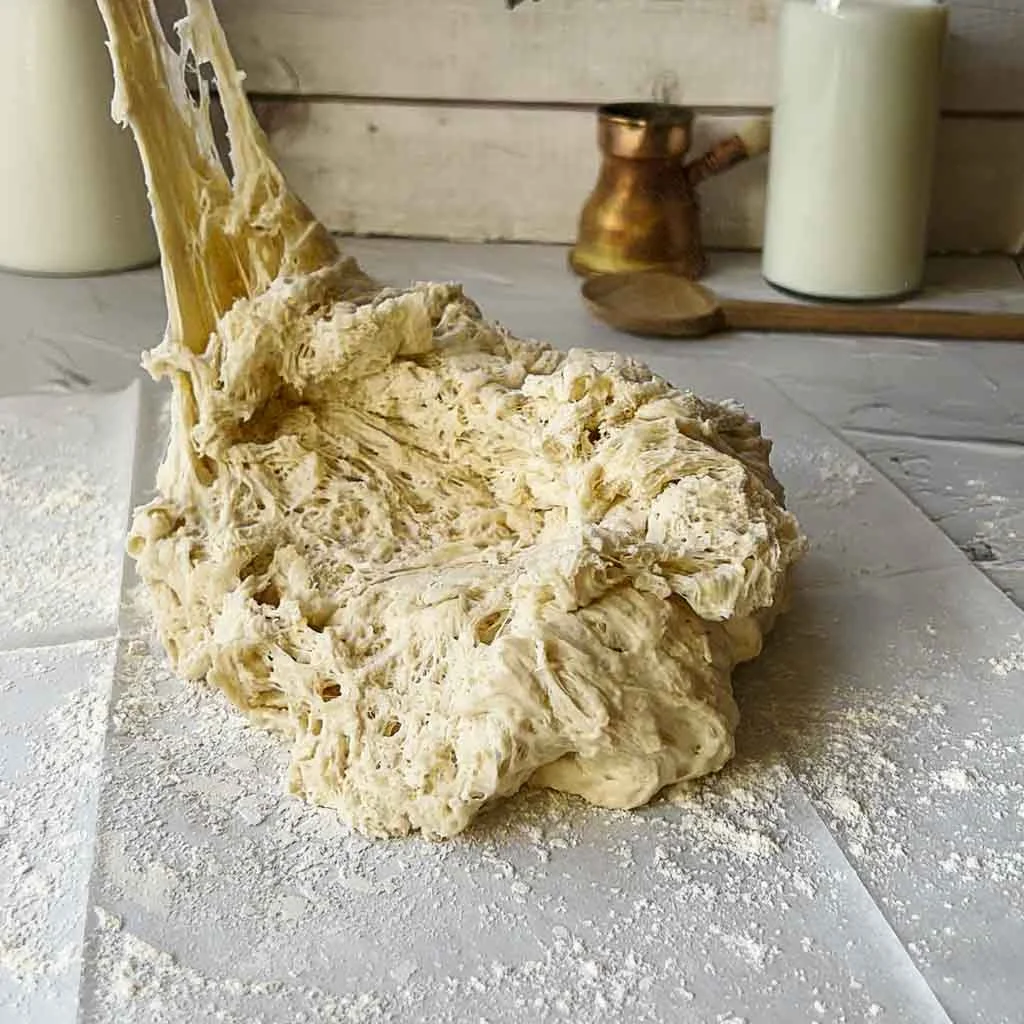
- In a large bowl, combine the flours and salt. Mix lightly. Pour in the yeast mixture and lukewarm water. Stir with a wooden spoon until a uniform dough is formed. The dough will be sticky, which is normal. Cover and let it rise for 30 minutes.
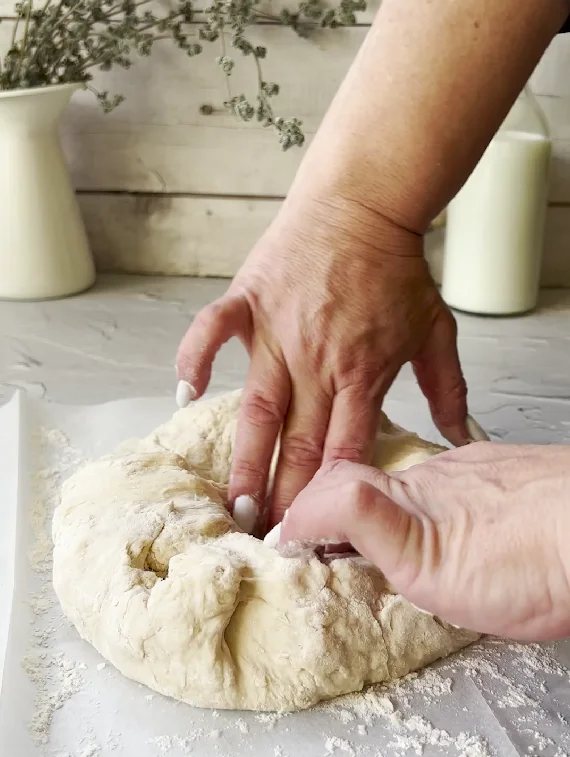
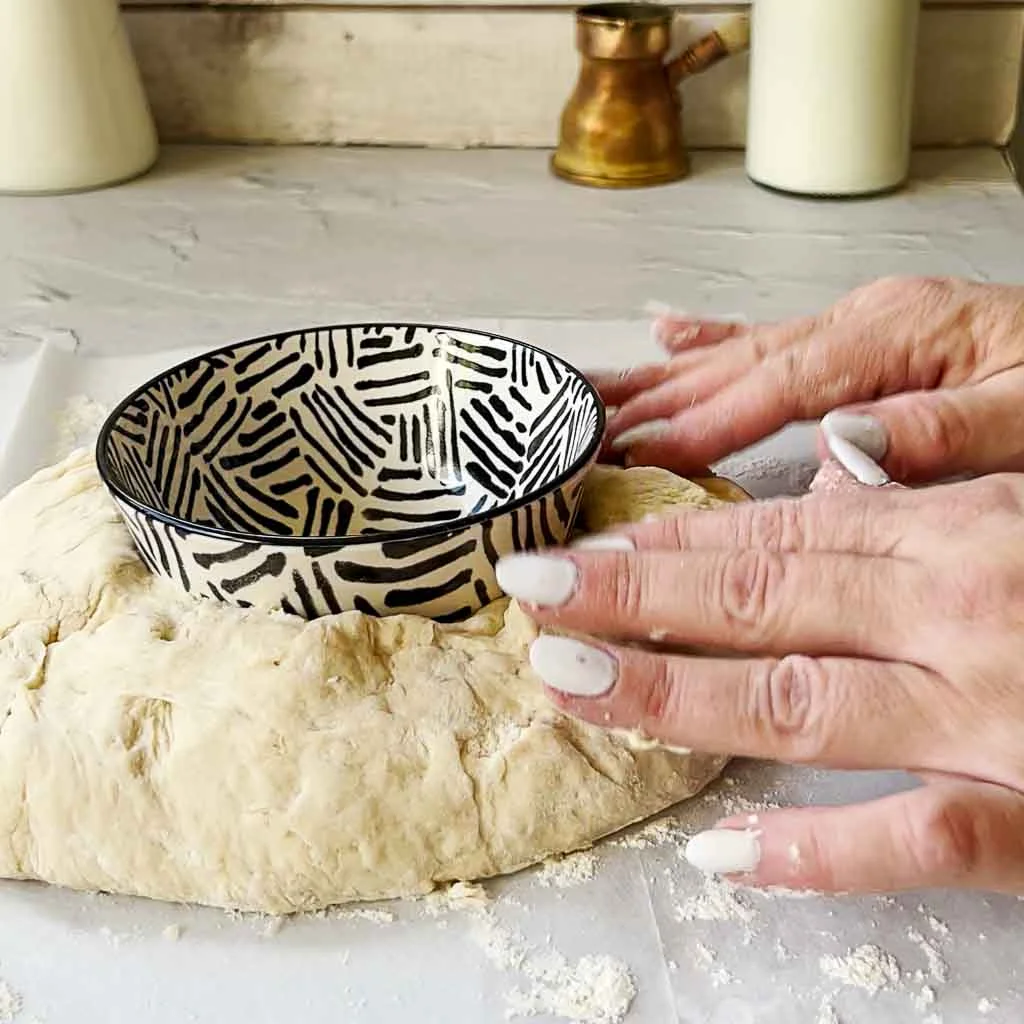
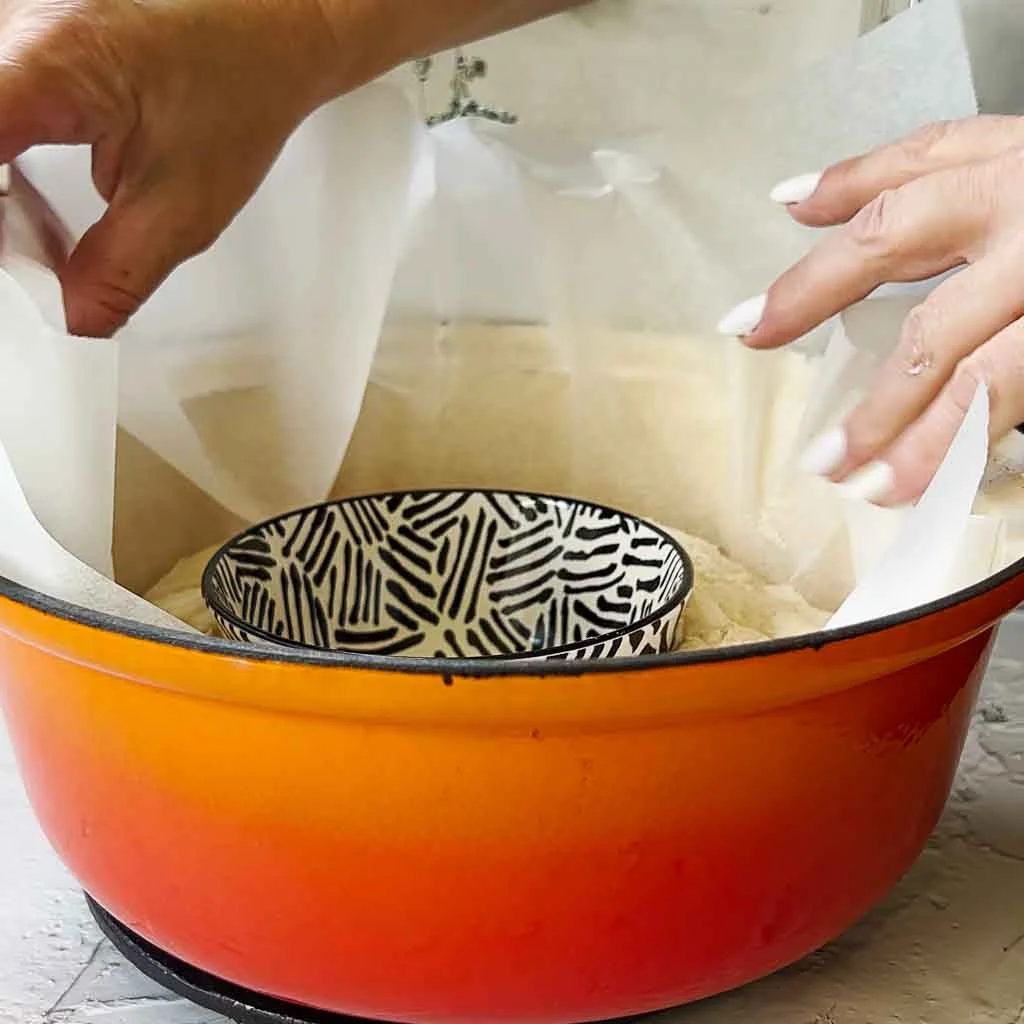
- Preheat the oven to 430 F (220 C). Line a parchment paper, and transfer the dough onto it. Shape it into a round loaf and create a hole in the center. Place the small bowl inside the hole. Transfer everything, with the parchment paper, into the cast iron pot and cover it.
- Using a sharp knife, cut off the narrow part of the garlic head to create a flat surface. Wrap it in tin foil and place on top of the pot. Transfer to the oven and bake for 35 minutes.
- Uncover and bake for another 10-15 minutes until the bread turns golden. Remove from the oven and let it cool slightly.
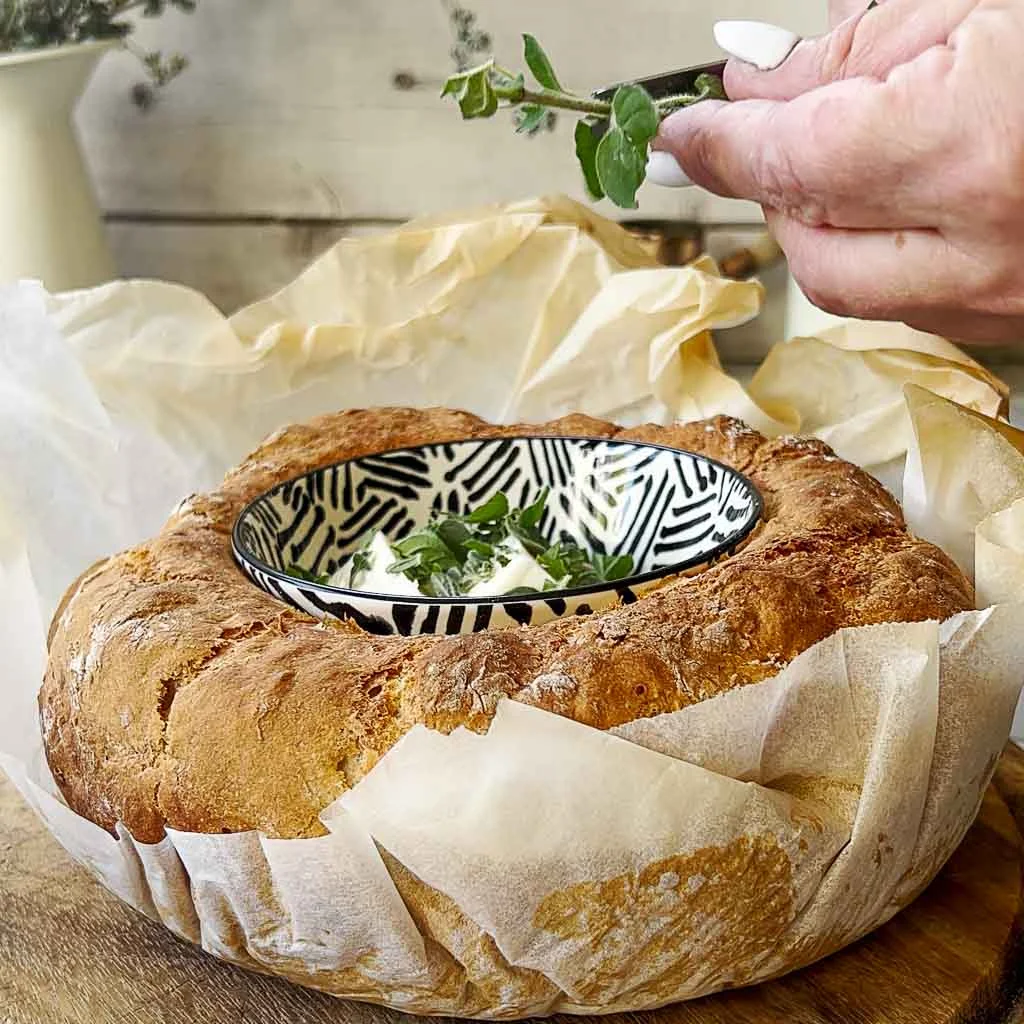
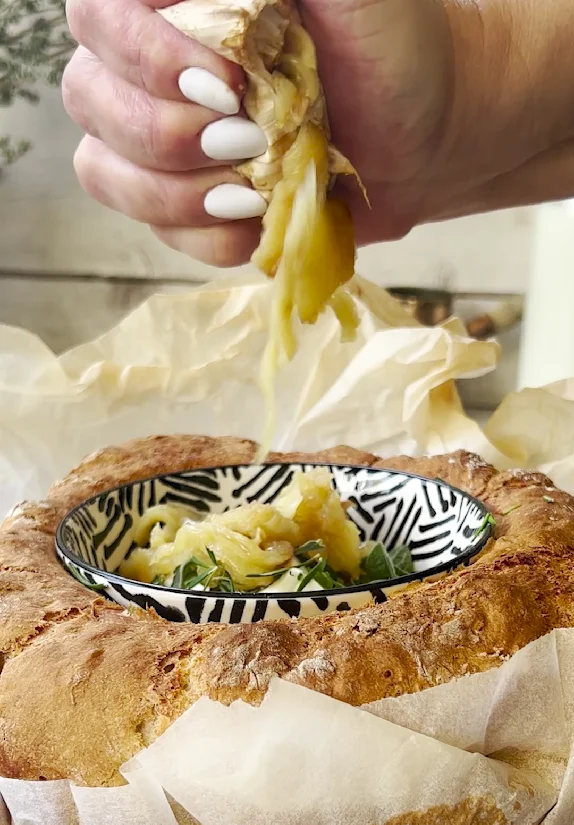
- Remove the bread from the pot. In a small bowl, combine the softened butter, finely chopped herbs, and salt. Unwrap the garlic cloves, squeeze them into the bowl and mix well.

FAQ
Is no knead artisan bread suitable for beginners?
No knead artisan bread is an excellent choice for beginners venturing into the world of bread-making. Its simplified technique ensures that minimal effort and expertise are required, making it accessible and approachable for those who are new to the craft. The forgiving nature of the recipe allows room for enjoyable experimentation and exploration, empowering beginners to unleash their creativity and develop their bread-making skills.
How to store the bread
To preserve the irresistible qualities of no knead artisan bread, proper storage is crucial. Once the bread has cooled, safeguard its crustiness by placing it in a breathable paper bag or a bread box. While it’s at its peak within a few days, you can extend its lifespan by freezing it. When you’re ready to relish its delightful flavors again, simply reheat the bread in an oven or toaster. This gentle reheating will revive its crispy crust, release its enticing aroma, and ensure each bite offers the same fresh-from-the-oven delight as the first time you tasted it.
How to customize no knead artisan bread
Customizing no knead artisan bread allows you to unleash your creativity and tailor the flavors to your preferences. Start by experimenting with different herbs, such as rosemary, thyme, or basil, to infuse aromatic notes into the bread. Enhance the texture and taste by incorporating ingredients like shredded cheese, sun-dried tomatoes, olives, or caramelized onions. For a touch of sweetness, consider adding dried fruits like cranberries or apricots, or a sprinkle of cinnamon and nutmeg. Nuts and seeds can bring a delightful crunch and added nutritional value. The possibilities are endless, so let your imagination guide you on this flavorful journey of customization.
How to make no knead artisan bread without a Dutch oven or cast iron pot
Although a Dutch oven or cast-iron pot is ideal for achieving a perfect crust, you can successfully bake no knead artisan bread using a baking stone or sheet pan as well. The key lies in generating steam within the oven during the baking process. By placing a pan of hot water on a lower rack or spritzing water into the oven, you create a moist environment that enhances crust development. This technique encourages a crispy, golden exterior that complements the soft, airy interior of the bread. With a little ingenuity, you can achieve exceptional results even without specialized equipment.
Can I roast the garlic in an air fryer?
You can roast it in an air fryer to make this amazing roasted garlic herb butter. Place the prepared garlic head in the air fryer basket, drizzle with oil, and cook at a moderate temperature, typically around 350°F (175°C), until the cloves are soft and golden.
Do I have to wrap the garlic in foil?
Totally optional. To skip the foil, simply place the prepared garlic head on a baking dish or in a garlic roaster and bake. The cloves may brown slightly, but this method can still yield delicious results.
