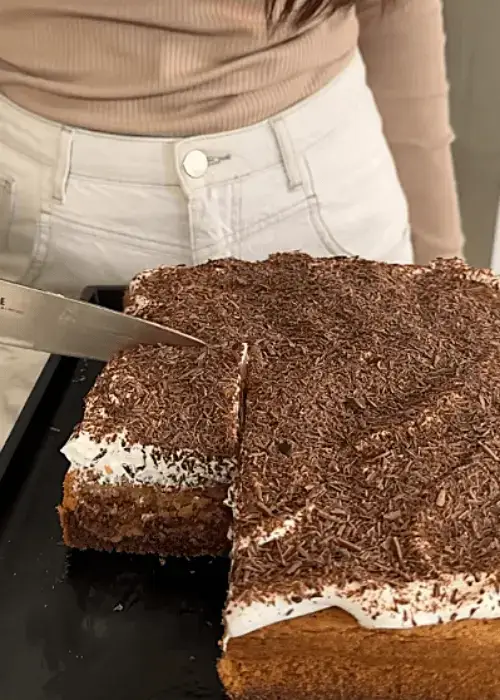
Dairy-Free Coffee Chocolate Cake
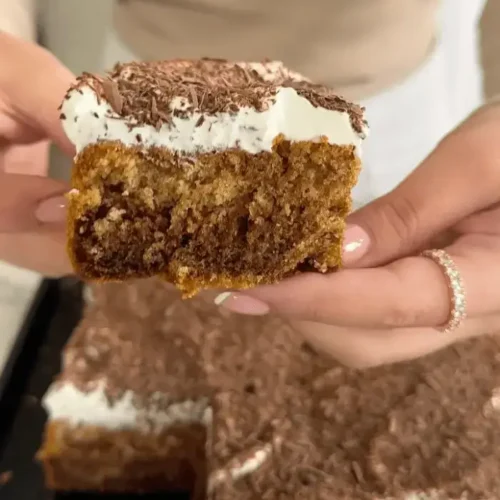
Watch the Full Step-by-Step
- Mixing bowls
- 9-by-12-inch baking pan
- Kitchen scale
INGREDIENTS
Cake batter:
- 5 large eggs
- 1 cup/200 grams sugar
- ¼ cup/60 grams brown sugar
- 1 cup/200 grams oil
- 2 cups/260 grams self-rising flour
- 2 tablespoons/10 grams instant coffee
- ½ cup/120 grams water
Chocolate batter:
- 3.5 ounces/100 grams dark chocolate
- ½ cup/100 grams oat whipping cream
- ½ cup cake batter
Cream:
- 1 cup/250 milliliters oat whipping cream
- 2 tablespoons vanilla instant pudding mix
Topping:
- 2.1 ounces/60 grams dark chocolate, grated

INSTRUCTIONS
- Heat the oven to 350°F/180°C on the convection setting. Grease a 9-by-12-inch baking pan.
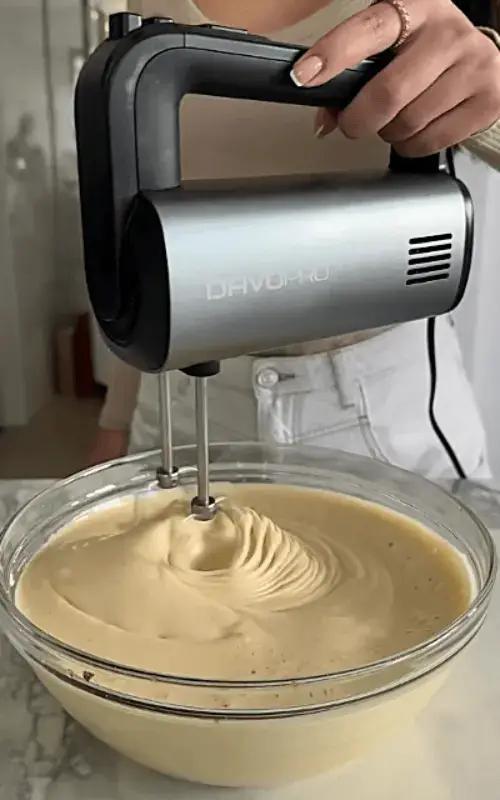
- In a stand mixer fitted with the whisk attachment, beat the eggs on medium speed, gradually adding the granulated and brown sugars. Continue beating for about 8 minutes, until pale and fluffy.
- Add the oil and whisk to combine. Add the self-rising flour, instant coffee and water, mixing until smooth.
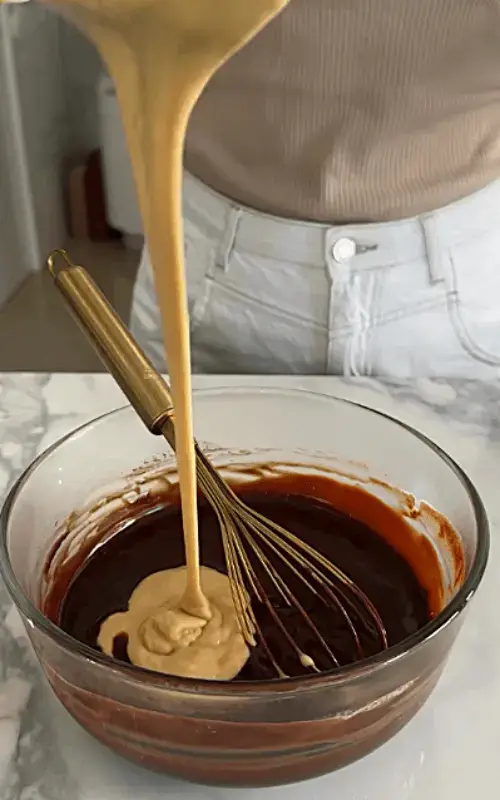
- For the chocolate batter, combine the dark chocolate and non-dairy whipping cream in a microwave-safe bowl. Microwave in short intervals, stirring between each, until melted and smooth. Stir in ½ cup of the cake batter.
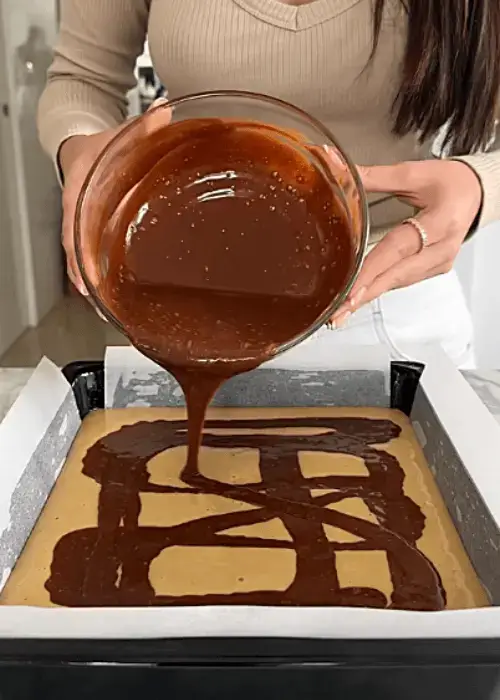
- Pour the cake batter into the prepared pan. Drizzle the chocolate batter over the top in rows, then swirl with an offset spatula to create a marble pattern.
- Bake for about 40 minutes, until a toothpick inserted into the center comes out with moist crumbs. Let the cake cool completely in the pan.
- For the topping, beat the non-dairy whipping cream in a stand mixer until it begins to thicken. Add the vanilla instant pudding mix and beat until firm.
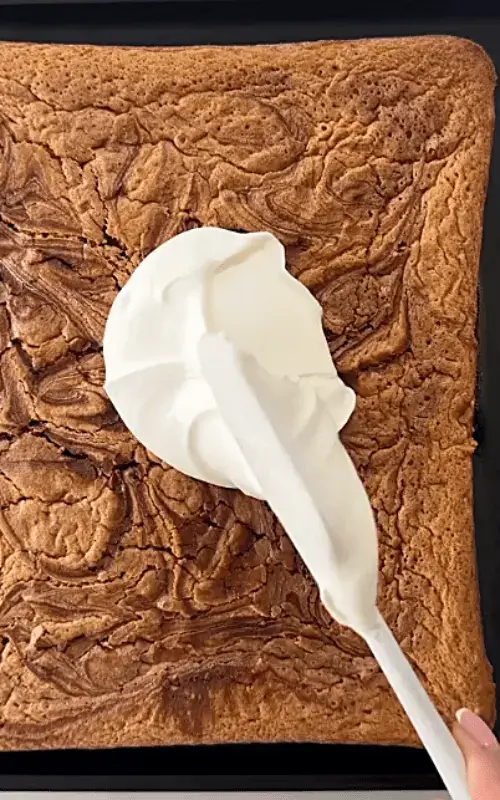
- Spread the cream evenly over the cooled cake and sprinkle with the grated chocolate.
FAQ
Can I use all-purpose flour instead of self-rising flour for coffee chocolate cake?
Yes, but you must add a leavening agent because self-rising flour already contains baking powder and usually salt. Replacing the 2 cups of self-rising flour with the same amount of plain all-purpose flour without adding leavening may produce a denser cake with less rise. A common substitution is 2 cups of all-purpose flour mixed with approximately 3 teaspoons of baking powder and ½ teaspoon of salt.
This is a general baking substitution, not a tested adjustment for this specific coffee chocolate cake recipe, so the result may differ slightly. Measure the flour accurately, preferably by weight, and mix the dry ingredients thoroughly before incorporating them into the batter. If using self-rising flour, as written in the recipe, no additional baking powder is necessary.
Why is my coffee chocolate cake dense instead of fluffy?
A dense coffee chocolate cake can result from insufficiently whipping the eggs and sugar, adding too much flour, or overmixing after the flour is incorporated. This recipe calls for beating the eggs with both sugars for approximately eight minutes, until pale and fluffy. That step helps incorporate air into the batter. Measure the self-rising flour carefully, ideally using the specified weight of 260 grams rather than packing flour into a measuring cup.
After adding the flour, instant coffee, and water, mix only until the batter is smooth. Excessive mixing can affect the final texture. Also check that your self-rising flour is fresh and has not passed its best-use date, as its leavening ability can decline over time. Finally, confirm that your oven is properly preheated and that the cake is baked until a toothpick inserted into the center comes out with moist crumbs rather than raw batter.
How do I create a marble pattern in coffee chocolate cake?
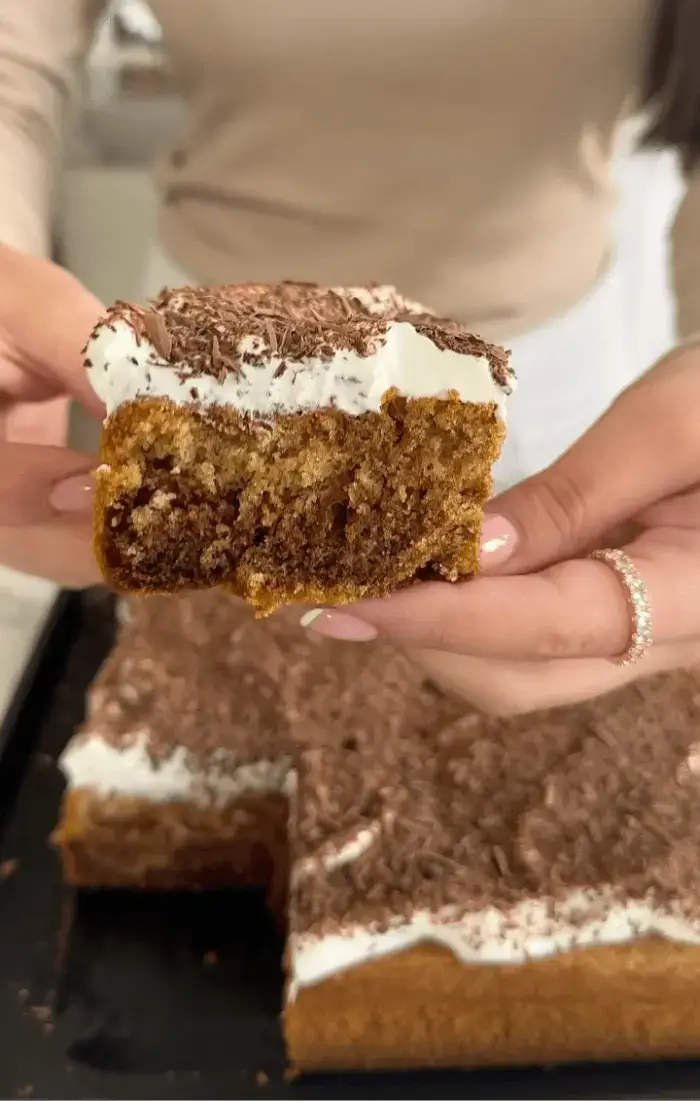
To create the marble pattern, first prepare the main coffee cake batter and transfer it to the greased 9-by-12-inch baking pan. Separately melt the dark chocolate with the oat whipping cream, stirring until the mixture is smooth, then mix in ½ cup of the prepared cake batter. Drizzle this chocolate mixture over the cake batter in rows. Use an offset spatula or a thin knife to draw gentle curves through the two mixtures, creating swirls without completely blending them.
The goal is to leave distinct ribbons of chocolate against the lighter coffee batter. Avoid excessive swirling, which can make the colors blend into a uniform brown mixture. The recipe does not specify an exact number of swirls, so use a light touch and stop once the marbled pattern is visible.
Should the eggs be at room temperature when making coffee chocolate cake?
Room-temperature eggs are helpful when making coffee chocolate cake because they generally incorporate more easily into the sugar mixture than cold eggs. The recipe calls for beating the eggs with the granulated and brown sugars for about eight minutes until the mixture becomes pale and fluffy. Eggs that are not very cold can help the mixture reach volume more efficiently, although the mixer and technique also matter. If your eggs are refrigerated, you can place them in a bowl of lukewarm water for several minutes before cracking them, rather than using hot water. Dry the shells before cracking.
The eggs should be mixed thoroughly with the sugars before adding the oil and dry ingredients. Avoid skipping the whipping stage, since it contributes to the cake’s structure. Room-temperature eggs are a useful preparation step, not an absolute requirement, and the recipe does not specify a particular egg temperature.
How do I know when coffee chocolate cake is fully baked?
The recipe gives a baking time of approximately 40 minutes at 350°F/180°C in a convection oven. Begin checking the cake near the end of that period, since actual baking time can vary with the oven, pan material, and batter depth. Insert a toothpick into the center of the cake, avoiding a thick chocolate swirl if possible. It should emerge with a few moist crumbs rather than raw, liquid batter.
A completely clean toothpick is not essential for this recipe because the stated endpoint is moist crumbs. If the toothpick comes out coated in wet batter, continue baking and check again after a few minutes. Once baked, let the cake cool completely in the pan before adding the cream topping. Spreading cream onto a warm cake can cause it to soften or melt.
Can I make coffee chocolate cake gluten-free?
Yes, but you will need to replace the self-rising flour with a gluten-free alternative formulated for baking. The original recipe uses 2 cups/260 grams of self-rising flour, so choose a gluten-free self-rising blend or a gluten-free all-purpose baking blend with an appropriate leavening adjustment. Gluten-free flour blends vary in their starches, protein content, and ability to retain moisture, so the cake’s texture may differ from the original. Do not assume that a gluten-free all-purpose blend contains baking powder; check the package and add leavening if required by the blend’s instructions.
Also verify that the instant pudding mix, dark chocolate, and other ingredients are gluten-free, particularly if baking for someone with celiac disease. Prevent cross-contact by using clean bowls, utensils, and pans. Because this recipe was developed with wheat-based self-rising flour, a gluten-free version may require testing to achieve the same rise and crumb.
Why did my coffee chocolate cake turn out dry?
A dry coffee chocolate cake may result from overbaking, inaccurate ingredient measurements, or an oven that runs hotter than its setting. This recipe uses oil, which helps retain moisture, but it cannot prevent dryness if the cake remains in the oven too long. Check the cake around the 40-minute mark and remove it when a toothpick inserted into the center comes out with moist crumbs. Measuring the flour by weight helps prevent accidentally adding too much.
Also check that your oven is using the intended convection setting, since fan-assisted heat can bake food more quickly than conventional heat. Allow the cake to cool before adding the topping, but avoid leaving it uncovered for an extended period in a very dry environment, as the surface can lose moisture.
How long does coffee chocolate cake last in the refrigerator?
Coffee chocolate cake topped with whipped oat cream is best consumed within about 3 to 4 days when stored properly in the refrigerator. Place it in an airtight container or cover the pan securely to prevent the cake from drying out and absorbing other food odors. The exact shelf life depends on the oat whipping cream, pudding mix, chocolate, handling, and refrigerator temperature. Follow any shorter storage instructions given on the cream package.
If the cake develops an unusual smell, visible mold, or a change in texture that suggests spoilage, discard it rather than tasting it to check. Do not leave the cake at room temperature for long periods, especially in hot weather. For the best eating quality, keep it consistently refrigerated and use clean utensils when serving. Freezing the unfilled cake is an option if you need to store it for longer.
What can I use instead of vanilla instant pudding mix in the cream topping?
The vanilla instant pudding mix in this recipe helps the oat whipping cream form a firm topping, and replacing it may change the consistency. The most reliable option is to use the specified two tablespoons of vanilla instant pudding mix. If you cannot use that product, choose a stabilizer specifically designed for whipped cream or a plant-based whipping cream that is formulated to hold its shape without additional stabilizers.
Follow the substitute manufacturer’s instructions rather than assuming that another thickener can be added in the same quantity. Cornstarch, flour, and regular custard powder are not direct replacements for instant pudding mix in a cold whipped topping, as they may need cooking or behave differently. Check that any replacement is compatible with oat whipping cream and meets your dietary requirements. Because the recipe does not provide a tested alternative, changing the stabilizer may result in a softer topping that needs to remain refrigerated until serving.
Can I make coffee chocolate cake without a stand mixer?
Yes. You can make coffee chocolate cake with a large mixing bowl and a handheld electric mixer. Beat the eggs while gradually adding the granulated and brown sugars, continuing for approximately 8 minutes until the mixture becomes pale and fluffy. A handheld mixer may take a little longer to achieve the same volume, depending on its power and the beaters. Afterward, mix in the oil, followed by the self-rising flour, instant coffee, and water, until the batter is smooth.
A whisk can work for some stages, but beating the eggs and sugar by hand for the full time is more demanding and may produce a different texture. Melt the chocolate and oat whipping cream separately in a microwave-safe bowl, then use a spatula to incorporate the reserved cake batter and create the marble pattern.
Why is my oat cream topping not thickening?
Oat whipping cream products differ considerably, and not all are formulated to whip into a stable topping. Use a product specifically labeled for whipping rather than ordinary oat milk or a thin oat-based cooking cream. Chill the product according to the package instructions before beating it, and use a clean mixing bowl and whisk attachment. Add the vanilla instant pudding mix as directed in the recipe and continue beating until the mixture becomes firm, taking care not to overbeat if the product begins to separate.
Check that the pudding mix is suitable for the product you are using and that it has not expired. If the cream remains thin, the product may not have enough fat or stabilizers to whip successfully. The recipe does not identify a specific brand, so results may vary depending on the oat whipping cream’s formulation.
How do I cut coffee chocolate cake without damaging the cream topping?
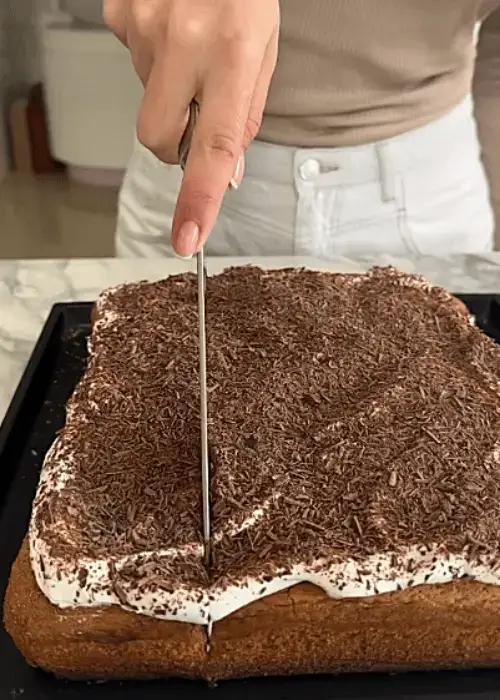
For clean slices, make sure the cream topping has set in the refrigerator before cutting the cake. Use a sharp knife with a long blade and press down through the cream and cake in one controlled motion rather than dragging the blade back and forth. Wipe the knife clean between cuts to prevent cream and chocolate crumbs from accumulating and smearing across the surface.
If the topping is especially soft, briefly chilling the cake before slicing can help it hold its shape. A thin, sharp knife is generally easier to control than a serrated knife when cutting through the cream layer, although either can work if used carefully. Cut the cake into 12 portions as suggested by the recipe, adjusting the size to suit your serving needs. Keep the remaining cake refrigerated after serving so the oat cream topping stays firm.
What type of dark chocolate is best for coffee chocolate cake?
Choose a dark chocolate that melts smoothly and has a flavor you enjoy eating alongside coffee. The recipe calls for 3.5 ounces/100 grams of dark chocolate for the chocolate batter and 2.1 ounces/60 grams of grated dark chocolate for the topping. A chocolate bar intended for baking or eating is suitable, provided it melts smoothly. The percentage of cocoa solids is a matter of preference: a higher percentage generally gives a more intense, less sweet chocolate flavor, while a lower percentage may taste sweeter and milder.
Check the ingredient list if you need the cake to be dairy-free, because some dark chocolates contain milk fat or milk solids. For the topping, use a grater to create shavings or fine curls. Grate the chocolate while it is firm, and keep it cool if it starts to soften from the warmth of your hands.
Can I freeze coffee chocolate cake?
Yes, but the best method depends on whether the cake has already been topped with the whipped oat cream. The baked cake without the topping is generally easier to freeze because the texture of whipped cream-style toppings can change after thawing. Let the cake cool completely, wrap it securely in plastic wrap, and place it in a freezer-safe container or bag to protect it from freezer burn and odor absorption. For better portion control, cut the cake into individual slices before wrapping.
Thaw it in the refrigerator while still covered. Once thawed, prepare the oat whipping cream and pudding topping, spread it over the cake, and add the grated chocolate. If freezing the fully assembled cake, check the oat cream manufacturer’s guidance first, since some plant-based whipping creams hold their texture better than others. Expect possible changes in the topping’s firmness after thawing.