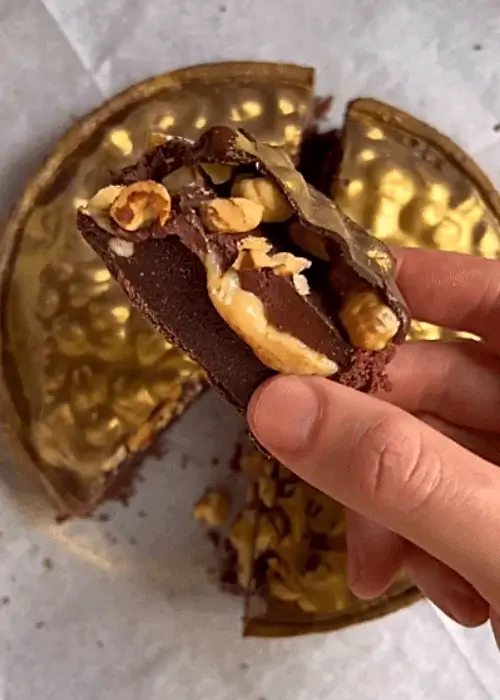
Chocolate Hazelnut Tart
Watch the Full Step-by-Step
- Food processor
- 8-inch/20-cm tart pan
- Rolling Pin
- Baking sheet
- Wire rack
- Small saucepan
- Immersion blender
- Offset spatula
- Pastry ring
- Kitchen scale
INGREDIENTS
Shortcrust pastry:
- 1¼ cups/150 grams all-purpose flour
- ½ cup/60 grams powdered sugar
- 3 tablespoons unsweetened cocoa powder
- 3.5 ounces/100 grams cold unsalted butter, cubed
- 1 large egg yolk
- Pinch of salt
Chocolate hazelnut cream:
- 2.5 ounces/70 grams unsalted butter, softened
- ½ cup/70 grams powdered sugar
- ⅓ cup/35 grams almond flour
- 1.5 ounces/40 grams milk chocolate, finely chopped
- 1.5 ounces/40 grams hazelnuts
- 2 tablespoons unsweetened cocoa powder
- 2½ tablespoons/20 grams cornstarch
- 1 large egg yolk
- Pinch of salt
Hazelnut mousseline:
- 1 cup plus 1 tablespoon/250 grams milk
- 3 large egg yolks
- ¼ cup/30 grams granulated sugar
- 3 tablespoons/25 grams cornstarch
- ⅔ cup/150 grams hazelnut praline spread
Chocolate ganache:
- 3.5 ounces/100 grams dark chocolate, finely chopped
- 1.75 ounces/50 grams milk chocolate, finely chopped
- ½ cup/120 grams heavy cream
Chocolate disc:
- 5.3 ounces/150 grams tempered dark chocolate
For garnish:
- 3.5 ounces/100 grams roasted hazelnuts
- Edible gold dust, optional

INSTRUCTIONS
- Heat the oven to 340°F/170°C. Butter an 8-inch/20-cm tart pan.
Shortcrust pastry:
- Combine the flour, powdered sugar, cocoa powder, and salt in the bowl of a stand mixer fitted with the paddle attachment. Add the butter and mix until the mixture resembles coarse crumbs. Add the egg yolk and mix just until a dough forms.
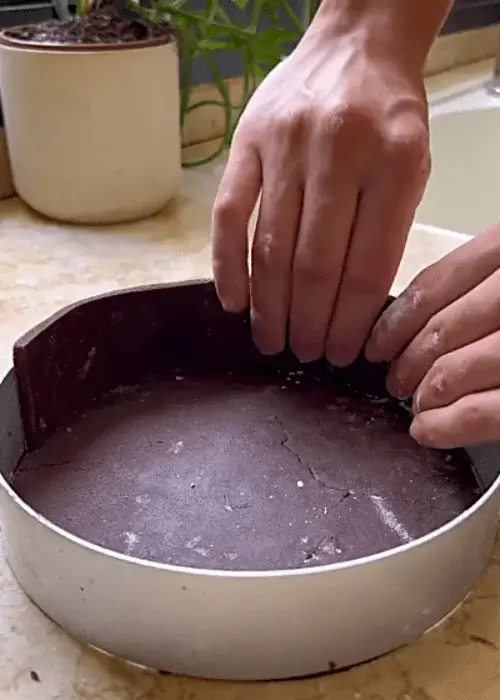
- Wrap the dough and refrigerate for at least 45 minutes. Roll into a very thin round and fit it into the prepared tart pan. Press the dough into the corners, trim the excess, and freeze for 1 hour.
- Bake until the crust is set, about 15 minutes. If any air bubbles form, gently prick them with a fork. Let cool slightly.
- Reduce the oven temperature to 325°F/160°C.
Chocolate hazelnut cream:
- Combine the butter, powdered sugar, almond flour, milk chocolate, hazelnuts, cocoa powder, cornstarch, egg yolk, and salt in a food processor. Process until smooth.
- Spread the filling evenly in the baked crust. Bake until just set, about 15 minutes. Let cool completely.
Hazelnut mousseline:
- Whisk together the milk, egg yolks, granulated sugar, and cornstarch in a small saucepan. Cook over medium-low heat, whisking constantly, until thickened and smooth.
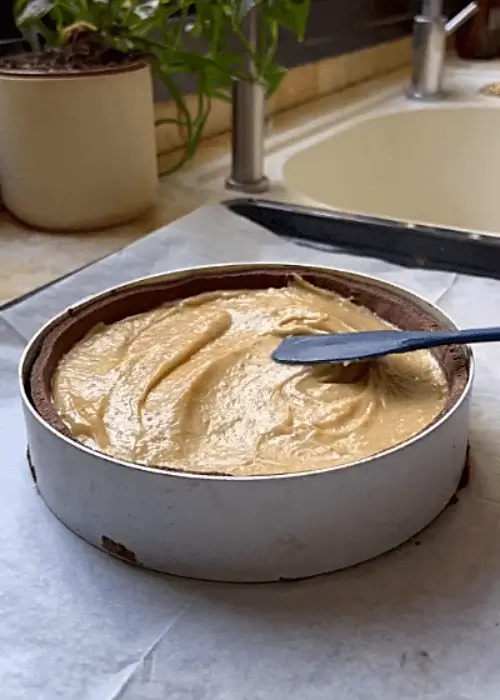
- Remove from the heat and whisk in the hazelnut praline spread until fully incorporated.
- Spread the mousseline evenly over the chocolate layer. Refrigerate for 2 hours or freeze for 1 hour.
Chocolate ganache:
- Combine the dark chocolate, milk chocolate, and heavy cream in a microwave-safe bowl. Microwave for about 1 minute.
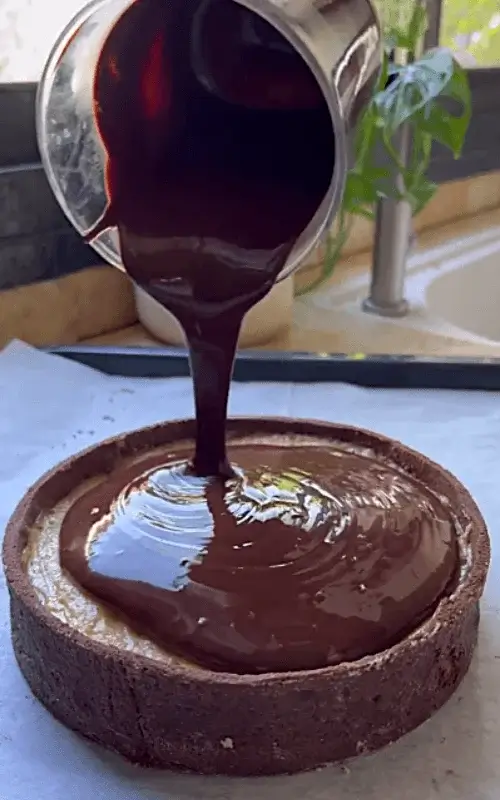
- Blend with an immersion blender until smooth and glossy. Pour the ganache over the mousseline and smooth the top.
- Refrigerate for 2 hours or freeze for 1 hour.
Chocolate disc:
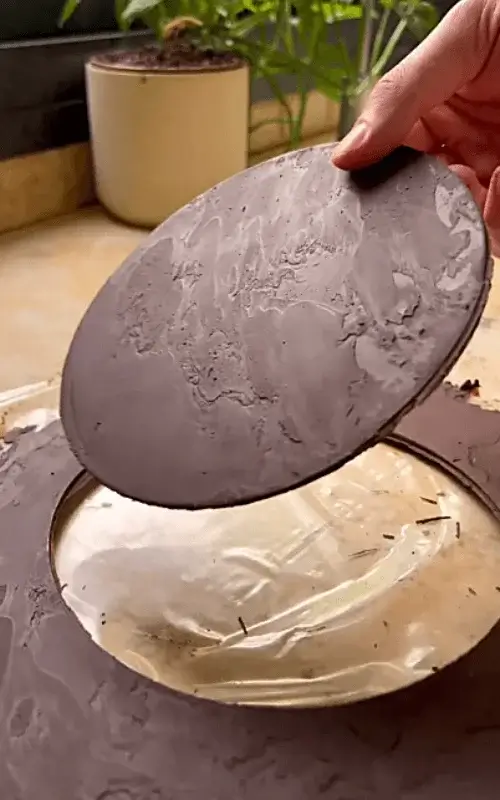
- Spread the tempered chocolate into a thin, even layer on an acetate sheet or food-safe plastic.
- Using a pastry ring or round cutter, cut a circle slightly smaller than the tart. Refrigerate until firm.
Assembly:
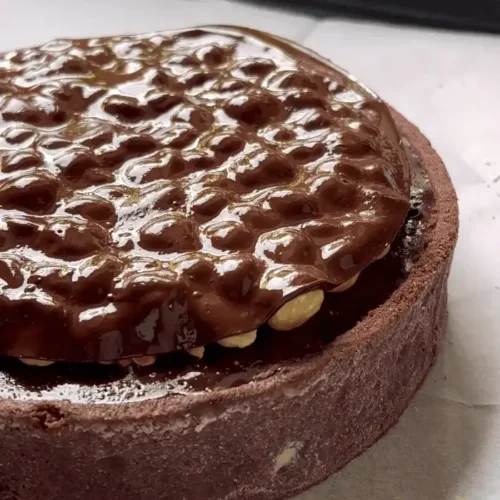
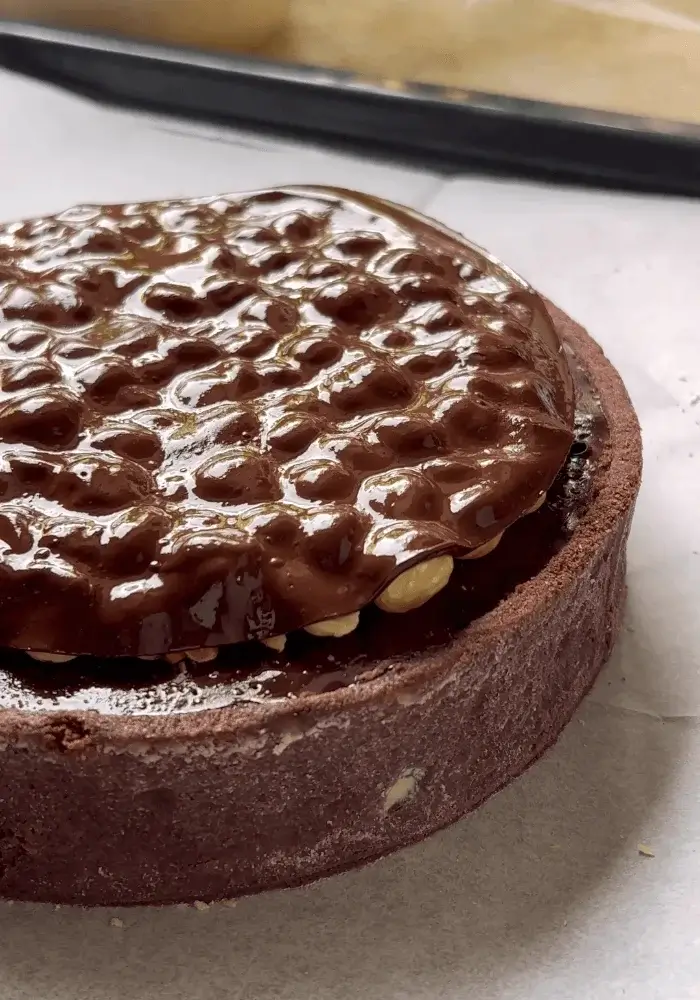
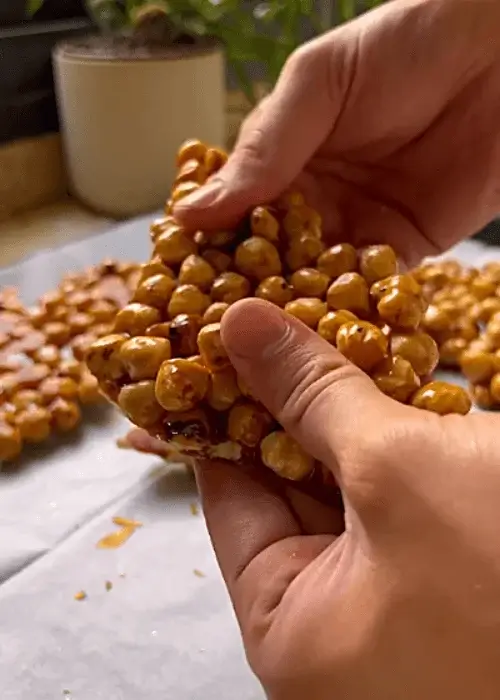
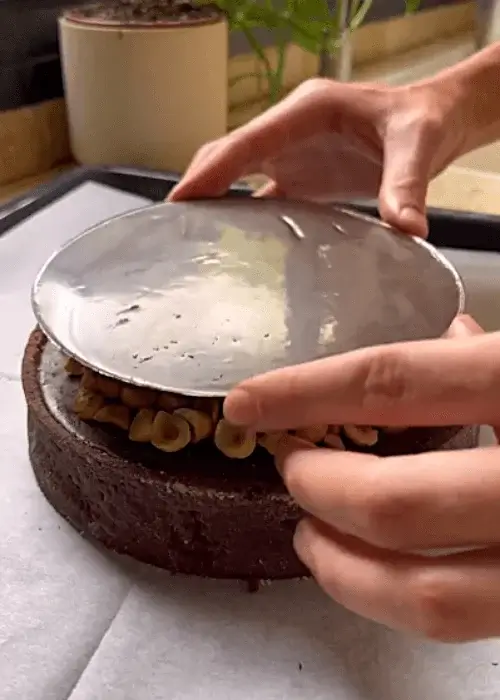
- Scatter the roasted hazelnuts evenly over the chilled ganache.
- Place the chocolate disc on top. Using a kitchen torch on low heat, gently warm the disc until it softens slightly and settles over the hazelnuts.
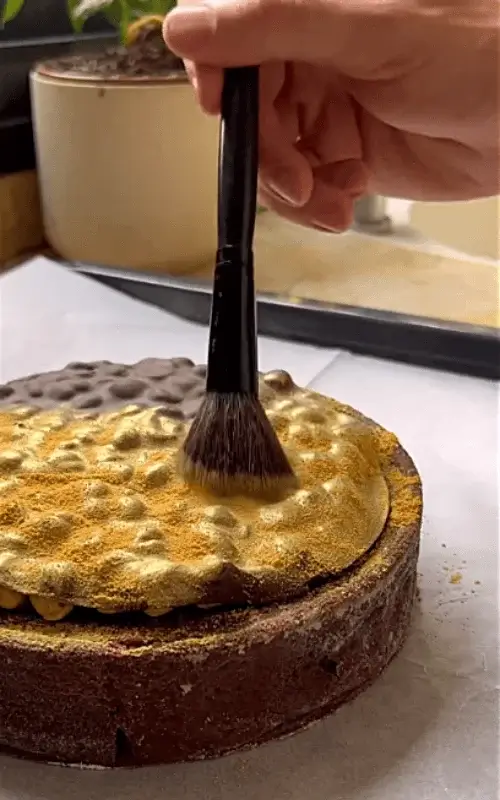
- Dust with edible gold, if desired.
FAQ
Can I freeze a chocolate hazelnut tart?
Yes, a chocolate hazelnut tart freezes well when wrapped properly. Allow the tart to chill completely until all layers are firm before wrapping it tightly in plastic wrap followed by a layer of aluminum foil or placing it in an airtight container. Freeze for up to one month for the best texture and flavor.
For the best results, wait to add the roasted hazelnuts, tempered chocolate disc, and edible gold dust until after thawing. These decorative elements can soften or lose their shine in the freezer. Transfer the tart to the refrigerator the night before serving so it thaws gradually. Avoid thawing at room temperature for extended periods, as condensation may affect the ganache and pastry.
What is hazelnut praline spread?
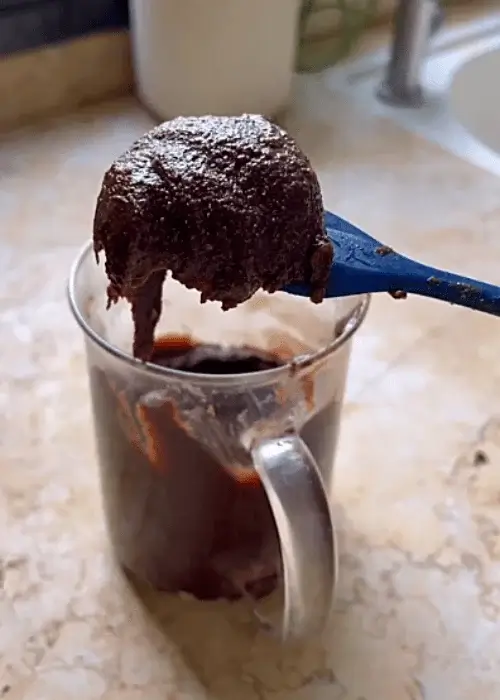
Hazelnut praline spread is a smooth paste made by caramelizing sugar with toasted hazelnuts and blending the mixture until creamy. Unlike chocolate-hazelnut spreads, praline spread contains no cocoa and has a stronger roasted hazelnut flavor.
In this chocolate hazelnut tart, the praline spread gives the mousseline a deep, nutty flavor while maintaining a silky consistency. It is commonly used in French pastry to flavor creams, mousses, and cakes.
High-quality praline spread usually contains a high percentage of hazelnuts and very few additional ingredients. If you cannot find it at a specialty grocery store, it is available from many baking suppliers or can be made at home by blending caramelized hazelnuts until they become a smooth paste.
Can I use chocolate hazelnut spread instead of praline spread?
Chocolate hazelnut spread is not the best substitute for praline spread in this chocolate hazelnut tart. While products like Nutella contain hazelnuts, they also include cocoa, sugar, milk solids, and oils that change both the flavor and consistency of the mousseline.
Using chocolate hazelnut spread will make the filling sweeter and more chocolate-forward while reducing the pure roasted hazelnut flavor that praline provides. The texture may also become softer because of the additional oils. If praline spread is unavailable, you can make your own by processing caramelized toasted hazelnuts until smooth. This homemade version provides a much closer match in flavor and texture than a commercial chocolate-hazelnut spread.
Why is my chocolate tart crust shrinking?
Shrinkage usually happens when the pastry has been overworked, insufficiently chilled, or stretched while lining the tart pan. For this chocolate hazelnut tart, chilling the dough after mixing and freezing the lined tart shell before baking helps the butter stay cold until it reaches the oven, reducing shrinkage.
When fitting the dough into the pan, gently press it into the corners without pulling or stretching it, as stretched dough naturally contracts during baking. Rolling the dough evenly also promotes consistent baking and minimizes distortion. If the crust puffs during baking, gently prick the raised areas with a fork rather than pressing them down forcefully.
Can I use roasted hazelnuts instead of raw hazelnuts?
Roasted hazelnuts are actually preferred for a chocolate hazelnut tart because roasting enhances their natural oils and creates a deeper, more complex flavor. Raw hazelnuts have a milder taste and softer aroma, while roasted hazelnuts develop a richer nutty flavor that pairs especially well with dark chocolate.
Roasting also improves the texture of the hazelnuts used for garnish by making them crisp and fragrant. If using raw hazelnuts, roast them in the oven until golden and aromatic, then allow them to cool completely before adding them to the tart. Removing some of the skins after roasting can create a smoother appearance, although small amounts of hazelnut skin do not affect the flavor.
How do I get clean slices of chocolate hazelnut tart?
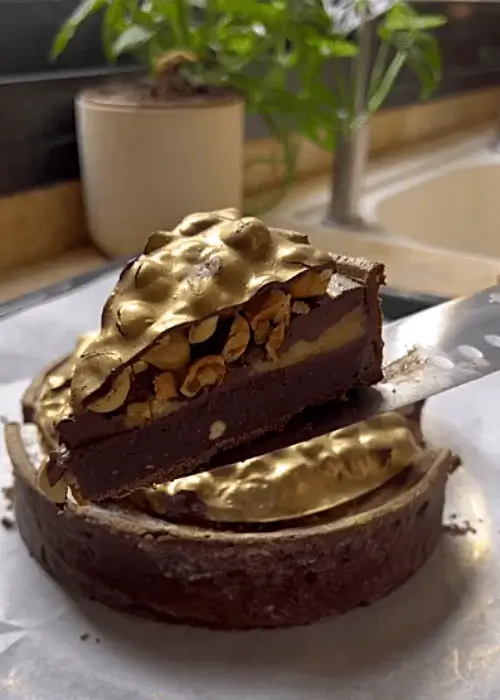
Clean slices start with a fully chilled chocolate hazelnut tart. Allow the tart to set completely so the mousseline and ganache become firm enough to hold their shape. Use a long, sharp knife dipped in hot water and wiped dry before each cut.
Warming the blade allows it to glide smoothly through the chocolate layers without dragging or cracking the ganache. Wipe the knife clean after every slice to prevent chocolate buildup from affecting the next cut. If the tart has been refrigerated for several hours, letting it stand at room temperature for 10 to 15 minutes before slicing can slightly soften the fillings while keeping the layers intact.
How do I store leftovers?
Store leftover chocolate hazelnut tart covered in the refrigerator to maintain the texture and freshness of the pastry and cream layers. Place the tart in an airtight container or cover it carefully with plastic wrap to prevent it from absorbing other refrigerator flavors. It is best consumed within 3 to 4 days for optimal quality.
The chocolate ganache may become slightly firmer when chilled, so allowing individual slices to sit at room temperature for 10 to 15 minutes before serving can improve the texture. Avoid storing the tart uncovered because the pastry can absorb moisture and lose its crispness. If storing slices separately, place parchment paper between pieces to prevent the layers from sticking together.
What type of chocolate is best for a chocolate hazelnut tart?
The best chocolate for a chocolate hazelnut tart is high-quality chocolate with a balanced cocoa flavor and enough richness to complement the hazelnuts. Dark chocolate between 55% and 70% cocoa works well because it provides depth without becoming overly bitter. For the ganache, a chocolate with around 60% cocoa content creates a smooth texture and a balanced flavor when combined with milk chocolate.
Using only very dark chocolate can overpower the delicate hazelnut notes, while using only milk chocolate may make the dessert too sweet. Choose couverture chocolate or a high-quality baking chocolate whenever possible, as these melt more smoothly and provide a better finish. The chocolate used in the tempered chocolate disc should also be high quality because it contributes both flavor and texture to the final presentation.
Can I make a chocolate hazelnut tart with a gluten-free crust?
Yes, a chocolate hazelnut tart can be made with a gluten-free crust by replacing the all-purpose flour with a gluten-free baking blend designed for pastry. Choose a blend that contains ingredients such as rice flour, tapioca starch, or potato starch and preferably includes a binder like xanthan gum. Because gluten-free dough behaves differently from traditional pastry dough, it may be more delicate and require careful handling when rolling and transferring it to the tart pan.
Another option is a nut-based crust made with almond flour or hazelnut flour, although the texture will be different from the crisp cocoa shortcrust used in this recipe. The fillings are naturally gluten-free as long as all chocolate, praline spread, and processed ingredients are certified gluten-free.
Can I use hazelnut flour instead of almond flour?
Yes, hazelnut flour can be used instead of almond flour in a chocolate hazelnut tart, although it will slightly change the flavor and texture. Almond flour is commonly used in pastry creams because it provides a mild nutty flavor and a fine texture that does not compete with other ingredients. Hazelnut flour will intensify the hazelnut flavor and create a more pronounced nut profile throughout the dessert.
If using hazelnut flour, use the same weight measurement as almond flour and ensure it is finely ground. Because hazelnuts contain slightly different fat levels than almonds, the baked chocolate hazelnut cream may have a slightly softer texture. Both options work well, but almond flour allows the hazelnut praline and roasted hazelnuts to remain the main hazelnut elements.
Why is my chocolate hazelnut tart filling too soft?
A chocolate hazelnut tart filling can remain too soft if it has not chilled long enough, if the ingredients were not measured accurately, or if the filling was undercooked. The hazelnut mousseline requires enough cooking time for the cornstarch to fully activate and thicken the mixture. If removed from the heat too early, the cream may not have enough structure.
The ganache also needs adequate chilling time to firm properly because its texture depends on the ratio of chocolate to cream. Measuring ingredients by weight rather than volume is especially important in pastry because small differences can affect consistency. Before slicing, allow the completed tart to chill until all layers are firm.
How long should a chocolate hazelnut tart chill before serving?
A chocolate hazelnut tart should chill for several hours before serving to allow each layer to fully set. The recipe requires chilling after adding the hazelnut mousseline and again after adding the chocolate ganache. These resting periods are important because they stabilize the creamy layers and make slicing easier.
For the best texture, refrigerate the finished tart for at least 2 hours after the ganache is added. If possible, chilling overnight produces even cleaner slices and allows the flavors to develop. Before serving, remove the tart from the refrigerator for about 10 to 15 minutes to slightly soften the ganache while keeping the structure intact. Avoid leaving it at room temperature for too long because the mousseline contains dairy and may lose its firmness.
How far in advance can I make a chocolate hazelnut tart?
A chocolate hazelnut tart can be made 1 to 2 days ahead of serving and stored in the refrigerator. Preparing the tart in advance is often beneficial because the layers have time to fully set, making the final slices cleaner and more stable. The shortcrust pastry remains crisp when properly baked and protected by the chocolate hazelnut cream layer.
The hazelnut mousseline and chocolate ganache also develop a smoother texture after resting. If making the tart ahead, keep it covered in an airtight container or loosely wrapped to prevent it from absorbing refrigerator odors. Add delicate decorations such as edible gold dust or any final garnish shortly before serving for the best appearance. A fully assembled chocolate hazelnut tart can also be frozen, but refrigeration is preferred when serving within a few days.
How do I temper chocolate for the chocolate disc?
Tempering chocolate is the process of carefully heating and cooling chocolate to stabilize its cocoa butter crystals. Properly tempered chocolate creates a shiny appearance, a firm texture, and a clean snap when broken. For the chocolate disc in this chocolate hazelnut tart, dark chocolate should be melted gently, cooled while stirring, and brought back to the correct working temperature before spreading.
The exact temperatures depend on the type of chocolate, but dark chocolate is generally melted to around 113°F–122°F/45°C–50°C, cooled to around 82°F–84°F/28°C–29°C, then brought back to approximately 88°F–90°F/31°C–32°C. Tempering can be done using the seeding method, where small pieces of unmelted chocolate are added to melted chocolate to encourage proper crystal formation.
What can I serve with chocolate hazelnut tart?
Chocolate hazelnut tart pairs well with lighter accompaniments that balance its rich chocolate and nut flavors. A small scoop of vanilla ice cream, lightly sweetened whipped cream, or crème fraîche can add freshness and contrast to the dense layers. Fresh berries such as raspberries, strawberries, or cherries work particularly well because their acidity cuts through the richness of the chocolate and hazelnuts.
Coffee and espresso are also classic pairings because their bitterness complements the roasted flavors in the dessert. For a more elegant presentation, serve thin slices of the tart with a few roasted hazelnuts and a small amount of whipped cream rather than adding overly sweet toppings that compete with the carefully layered flavors.
Can I make a chocolate hazelnut tart without a stand mixer?
Yes, a chocolate hazelnut tart can be made without a stand mixer. The shortcrust pastry can be prepared by hand using a pastry cutter, your fingertips, or a food processor. The goal is to combine the butter with the dry ingredients until the mixture resembles coarse crumbs before adding the egg yolk.
For the chocolate hazelnut cream, a food processor is more important because it creates a smooth mixture from the nuts and chocolate. The mousseline and ganache can easily be prepared with a whisk and saucepan. While a stand mixer makes the pastry process faster and more consistent, it is not required to achieve a professional result.
Why does my chocolate hazelnut tart have cracks on top?
Cracks on a chocolate hazelnut tart can occur when a layer becomes too dry, overbakes, or cools too quickly. The baked chocolate hazelnut cream should be removed from the oven when it is just set rather than completely firm, as it will continue to set while cooling. Cracks can also form if the oven temperature is too high or if the filling is spread unevenly.
Blending until smooth and pouring it gently helps create a flawless surface. If small cracks appear, they are usually hidden beneath the mousseline or ganache layers, so they do not affect the final appearance or flavor of the finished tart.